
Adding a VESTA panel
Before you start
You will need:
- the panel's address on your network (e.g.
http://192.168.1.60) – only for the one-time setup; your computer must be able to reach the panel at that moment, - the panel's MAC address (sticker on the housing, format
00:1D:94:1C:82:9B), - the panel's credentials (username and password of its web interface).
The key decision: the operating mode
VESTA panels are made remotely accessible via our server. During setup you choose between two operating modes – they differ in who besides you sees your system's data:
"Alarmanlagenmanager only" – direct (recommended, data-minimal)
The panel registers with our server instead of the manufacturer's.
- ✅ No more data to the manufacturer's cloud.
- ✅ Full feature set in the Alarmanlagenmanager.
- ❌ The manufacturer's app loses remote access (local operation at the panel is unaffected).
"Keep the manufacturer app" – proxy
Our server sits between the panel and the manufacturer's cloud. The panel still believes it is talking to the manufacturer.
- ✅ The manufacturer's app keeps working as before.
- ✅ The Alarmanlagenmanager can still operate the system.
- ❌ The manufacturer remains a recipient of the forwarded data.
The operating mode can be changed later via Edit. What this means for data protection is described in section 4a of the privacy policy.
The wizard
- In the Cockpit, click + Panel and choose VESTA / Blaupunkt / Egardia as the brand.
- Choose the operating mode (direct or proxy, see above).
- Enter the panel's network address (e.g.
http://192.168.1.60) and the MAC address. - Enter name and panel credentials and save.
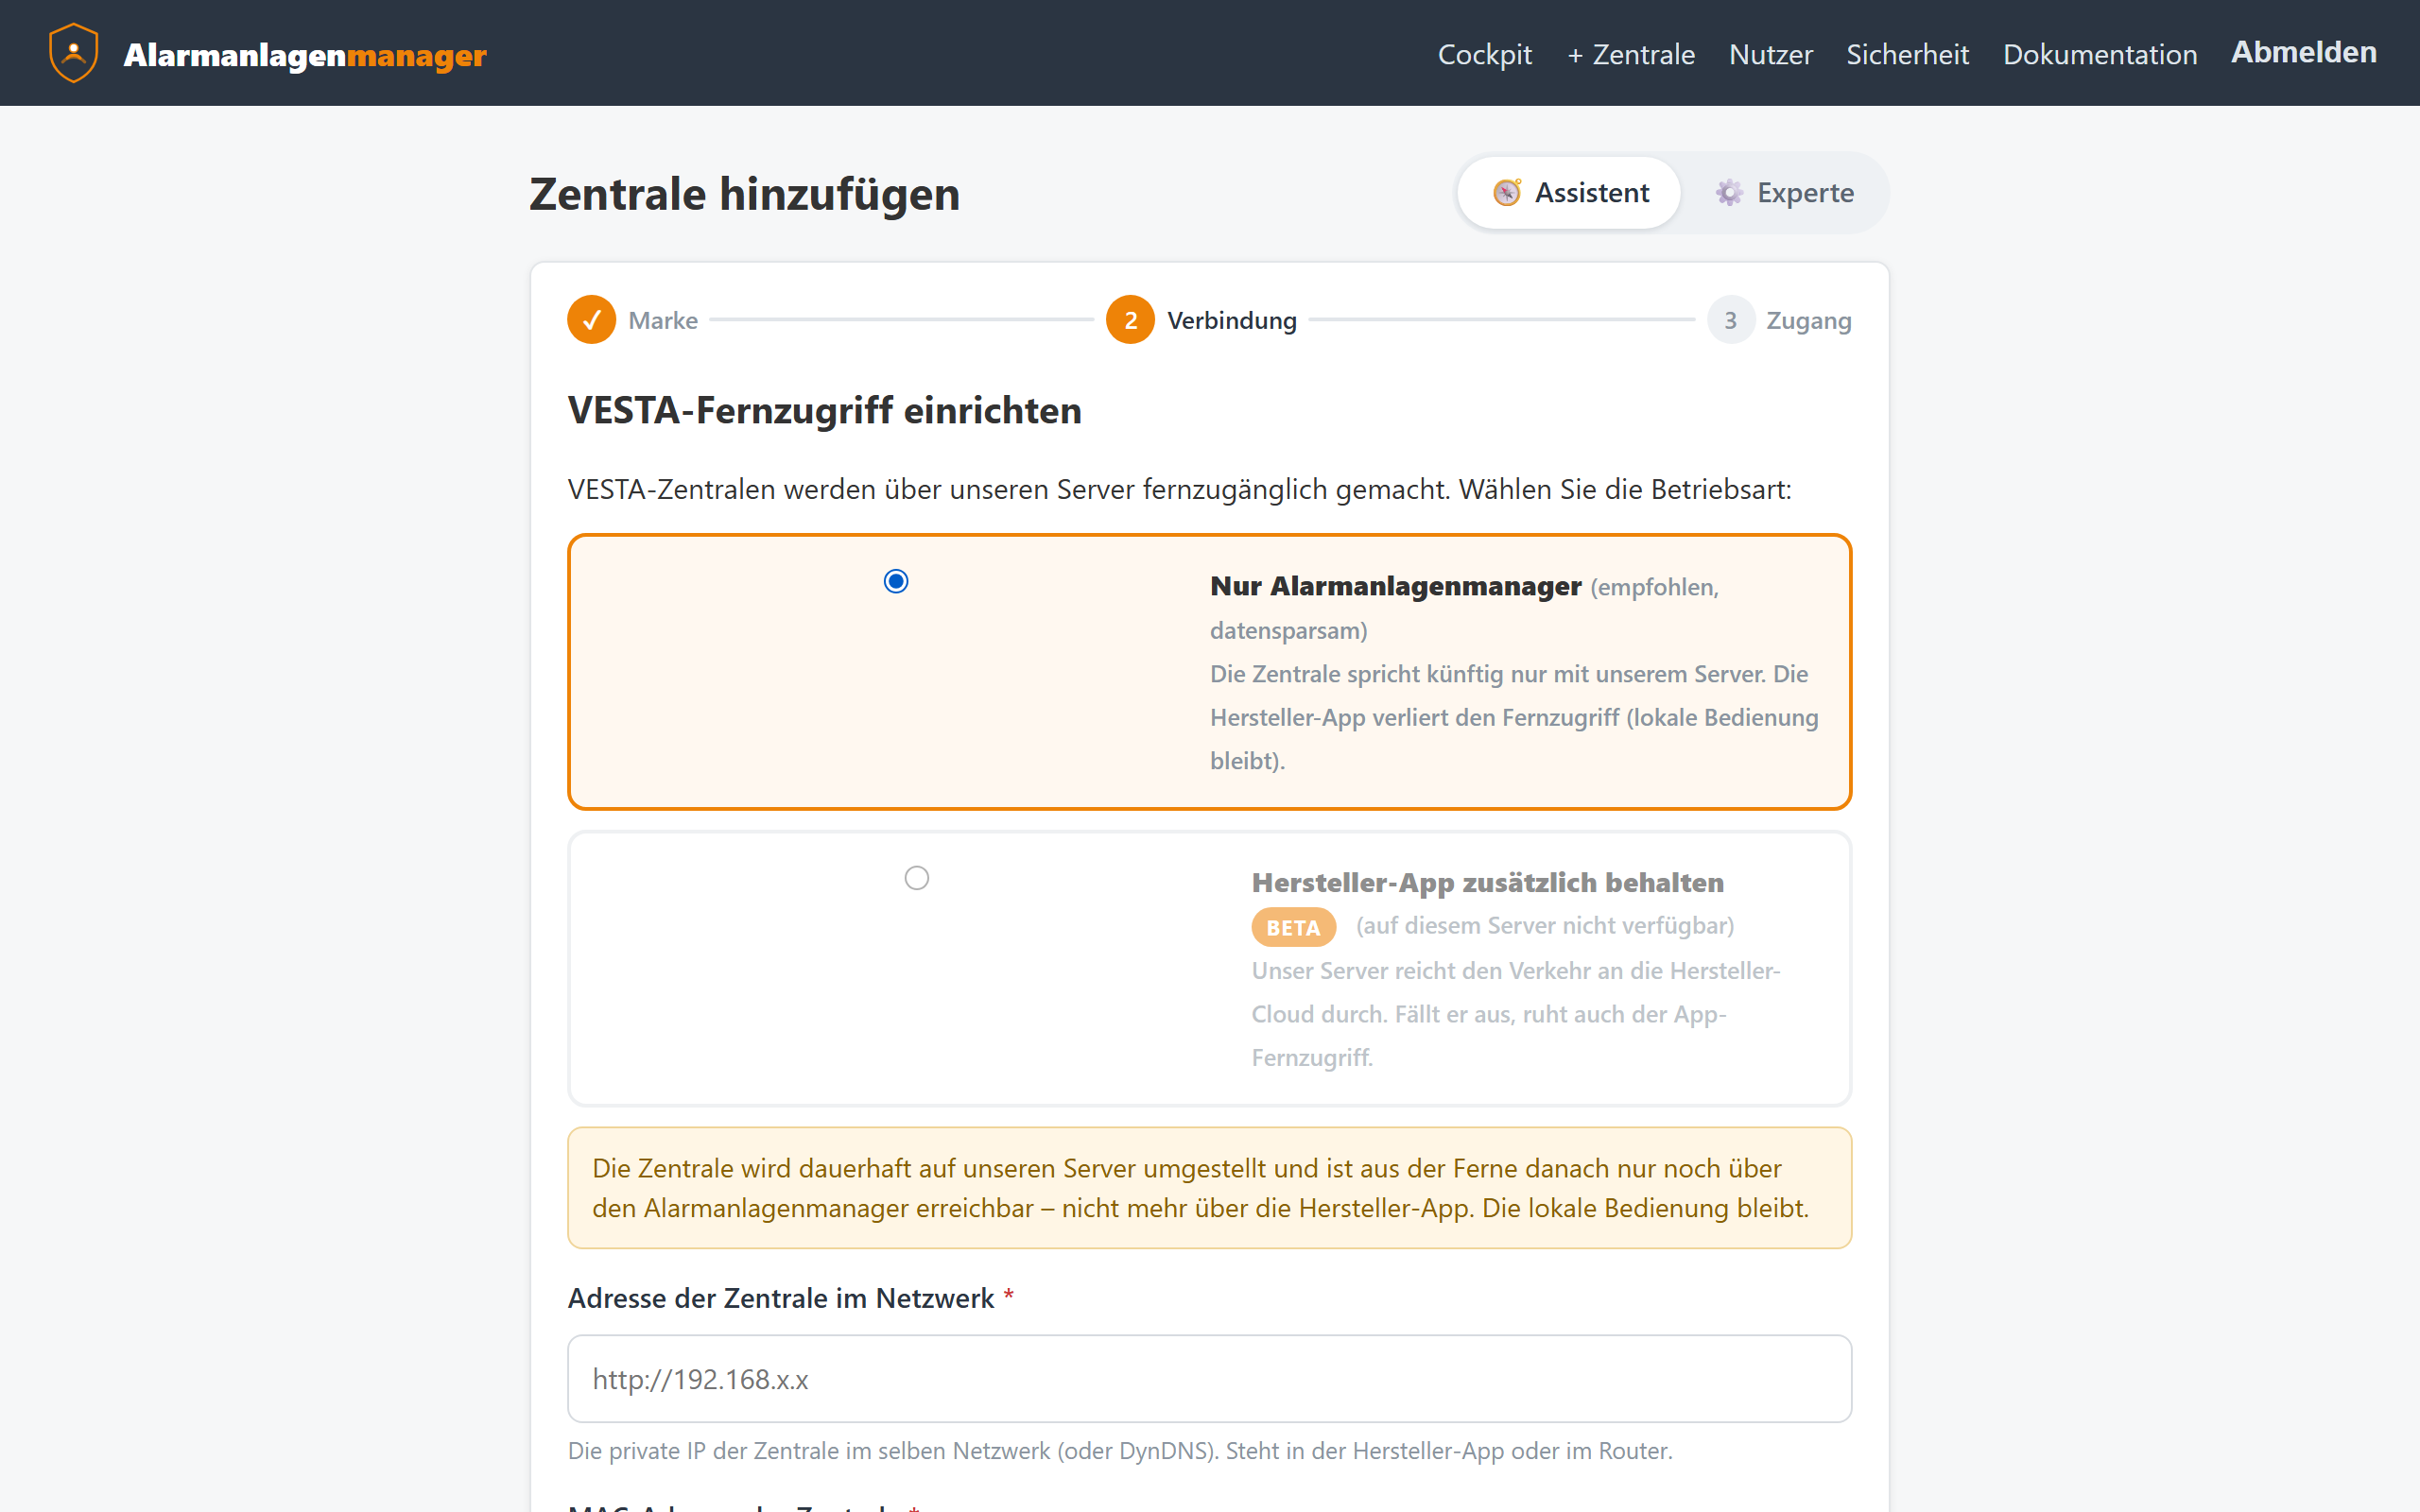
During setup the Alarmanlagenmanager provisions the panel: it points the panel's server address to our server (mode "direct") or sets up the relay (proxy). For this the panel must be reachable at the given network address at the moment of setup – afterwards it doesn't need to be.
After setup
- The panel establishes the connection on its own to our server – no port forwarding is required, and the system may sit behind any type of connection.
- The panel view's header shows the connection state. Right after the switch-over it can take a minute or two until the panel reports in for the first time.
The stored address: optional but useful
A few functions are not offered by the VESTA firmware over remote access (the interface will tell you clearly, e.g. on certain settings pages). If you additionally store an address under Edit that this server can reach – via VPN or DynDNS – those functions run over the direct route as well. Without such an address, simply perform those steps on the panel's own web interface.
Special case: automations the first time
VESTA panels report their automation rules only after a rule has been saved once via the Alarmanlagenmanager (or a reachable address is stored). So if you initially see "The automations are not yet known" under Smarthome → Automation, it is enough to save one rule once – from then on the inventory is permanently known.
Arming/disarming requires the user code
When arming or disarming a VESTA panel, the Alarmanlagenmanager always asks for the system's user code and checks it against the codes stored in the panel. Good to know:
- The user codes of the respective area count (plus cross-area codes) – the administrator code does not: the panel itself rejects it when switching.
- If no user code exists for an area yet, first create one under Alarm system → PIN codes.
More in the chapter Arming and disarming.