
Adding a Lupus panel
Before you start
You will need:
- the panel's credentials (username and password you also use on the
panel's own web interface – often
adminfrom the factory), - for the recommended P2P route: the panel's QR code (on the housing sticker or in the panel's web interface under remote access) or the credentials of your Lupus portal account,
- alternatively: an address at which this server can reach the panel (same network environment, VPN or DynDNS).
The wizard
In the Cockpit, click + Panel. The wizard walks you through setup in three steps; if you prefer to set the details yourself, switch to ⚙️ Expert at the top right.
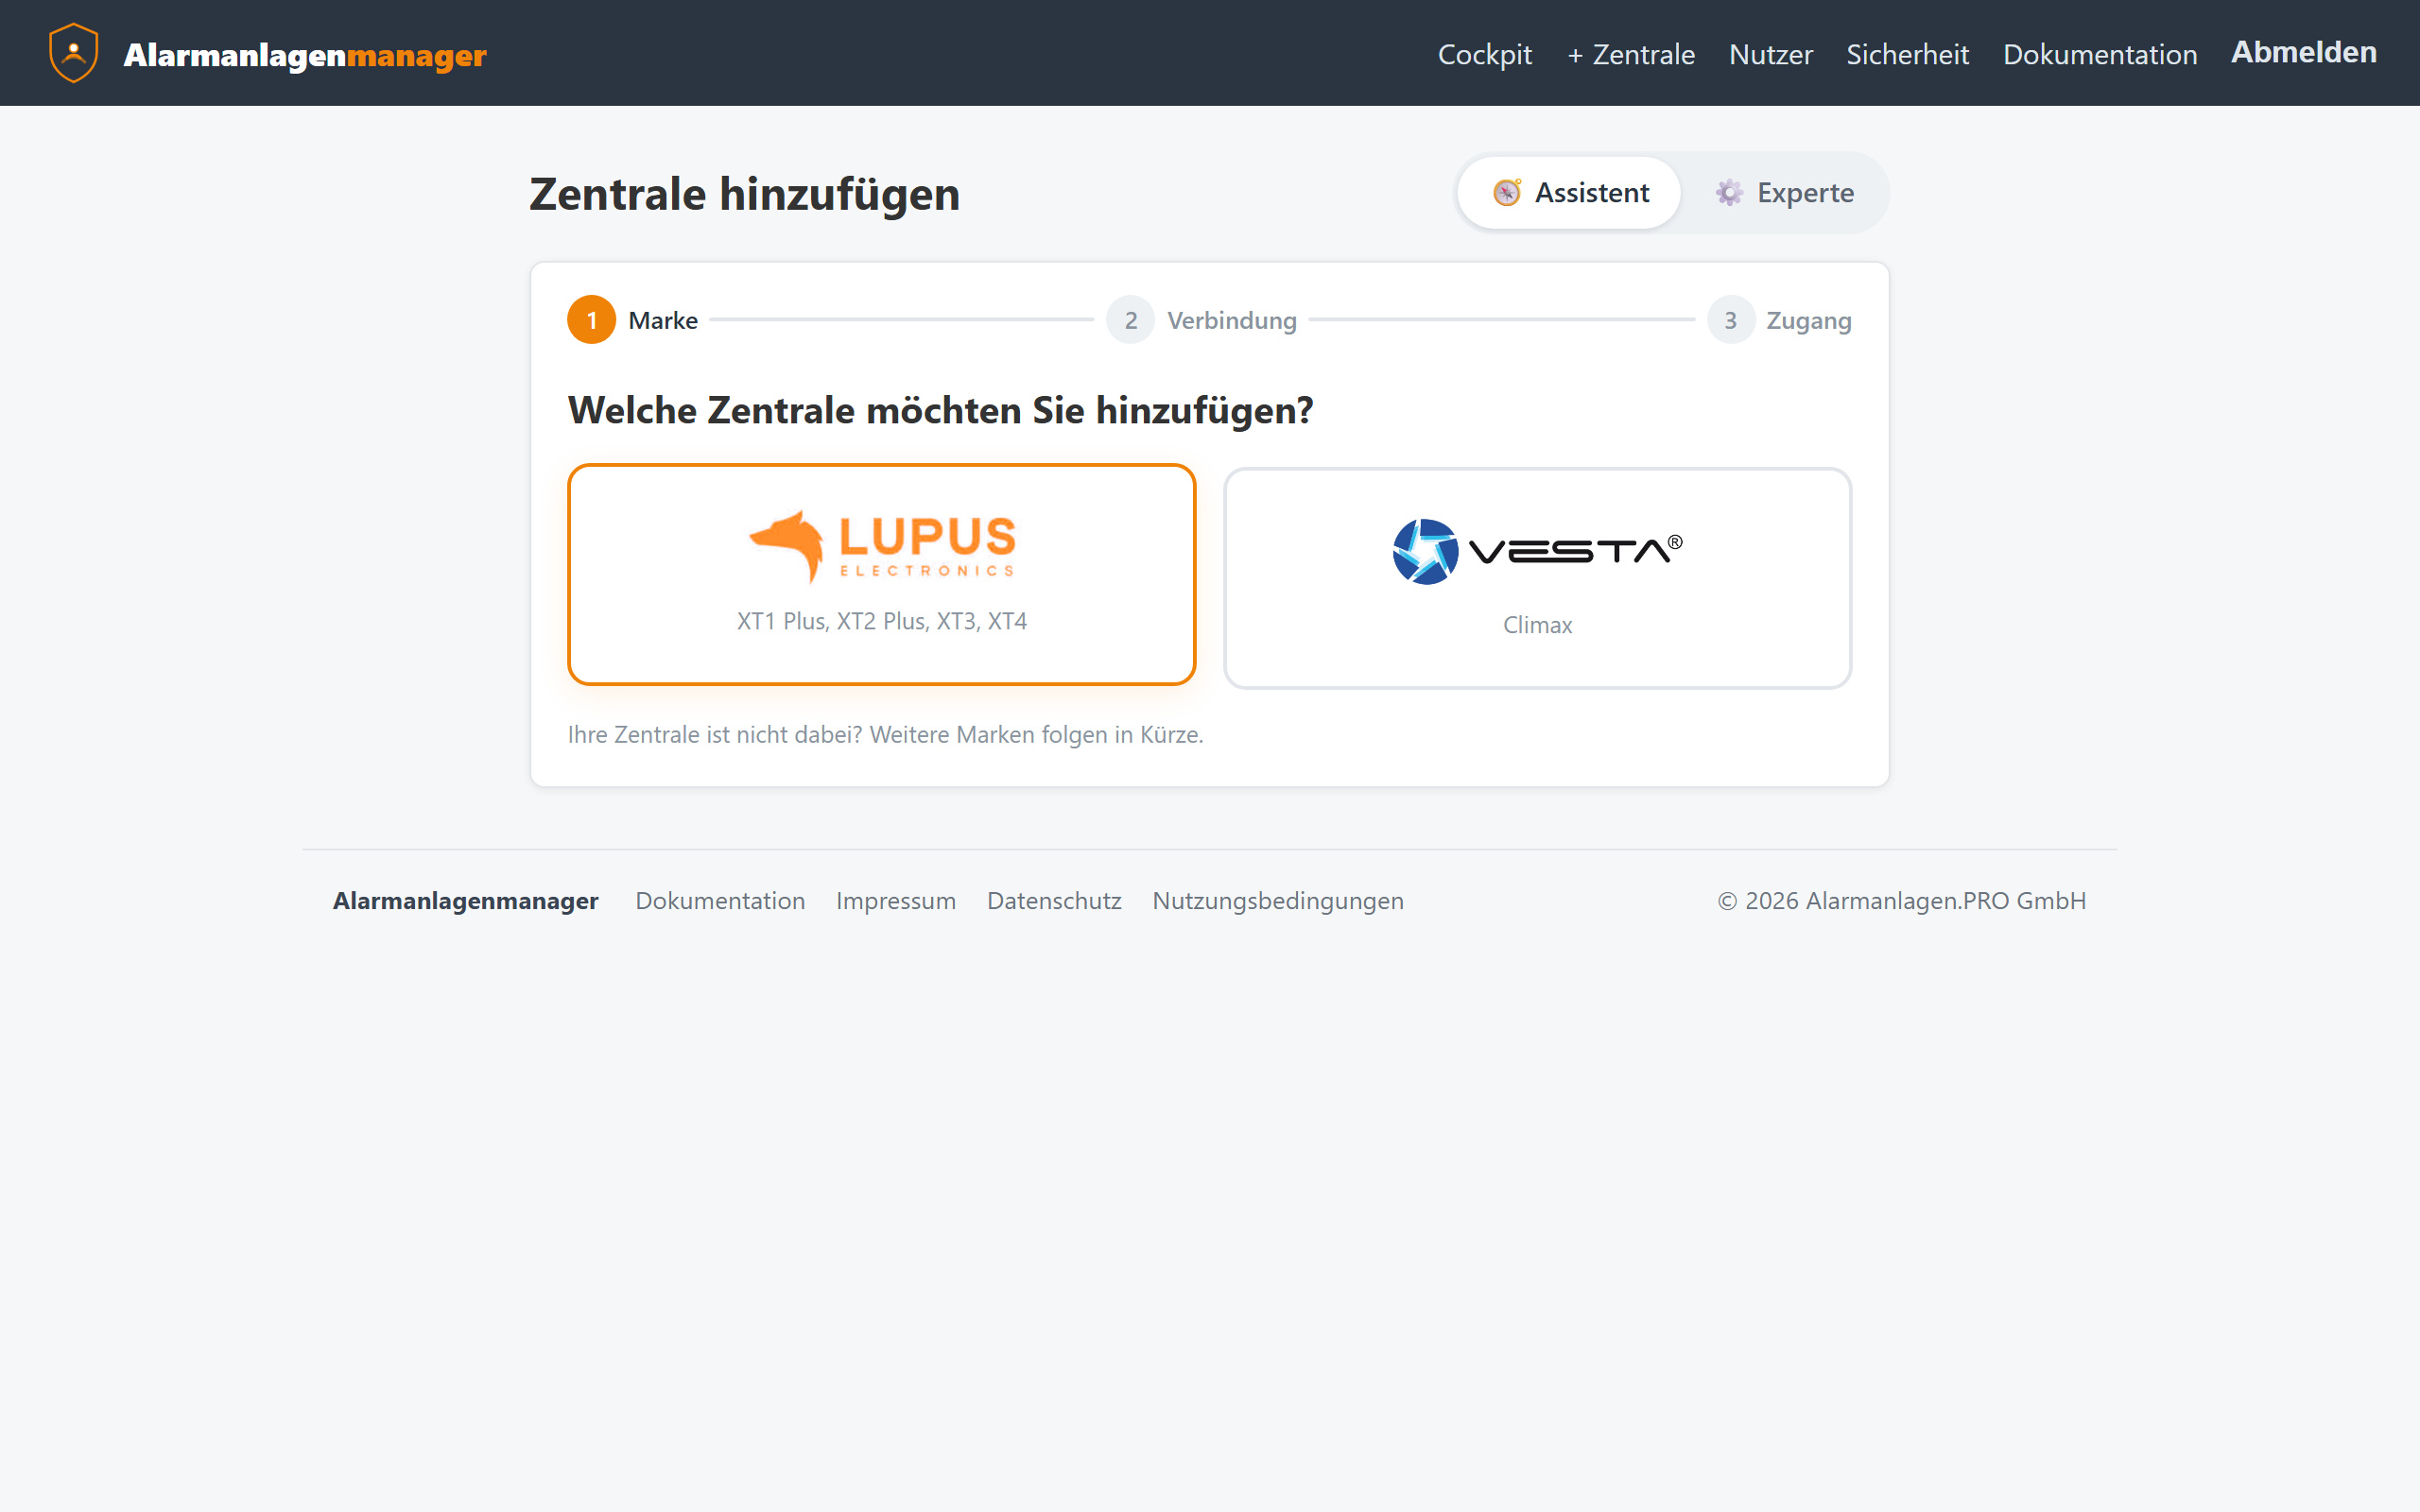
Step 1: Choose the brand
Choose Lupus Lupusec. (For VESTA, Blaupunkt and Egardia continue in the chapter Adding a VESTA panel.)
Step 2: Connect – the P2P route (recommended)
Lupusec panels support an outgoing, encrypted P2P remote connection. Its advantages: no port forwarding in your router, the panel may sit behind any connection (including mobile/CGNAT), and the connection runs via our server instead of the manufacturer's brokering servers.
You have two ways of entering the P2P data:
- Photograph or upload the QR code – the wizard reads all required data from it (the panel's identity and key).
- Enter portal credentials – if your panel was already registered in the Lupus portal, the wizard takes the data from there.
Important: P2P remote access must be enabled on the panel (panel web interface → Network → Remote access). The wizard shows an illustrated guide.
Step 2 (alternative): direct address
Under "Advanced: set up via local network address instead" you enter a connection URL, e.g.:
https://192.168.1.50– if the Alarmanlagenmanager reaches the panel on the same network (e.g. self-hosted),https://kunde.dyndns.example:443– via DynDNS and a port forwarding,- a VPN address.
The serial number/MAC (e.g. 00:1D:94:0C:0F:A5) is filled in by the wizard
where needed.
Note on certificates: Lupusec panels present a self-signed certificate. That is normal; the Alarmanlagenmanager handles it correctly.
Step 3: Name and credentials
- Panel name – free choice, e.g. "Home", "Office", "Holiday home". The name appears in the Cockpit and in all links.
- Panel user –
adminfrom the factory. - Panel password – the matching password. It is stored encrypted and used exclusively for the connection to the panel.
Save completes the setup. A new tile appears in the Cockpit; clicking it opens the panel view.
Installers: for which user?
Installers and administrators additionally see the selection "For which user?" – it creates the panel directly in your customer's account. The customer then is the main user of their system; you keep support access as the installer (details in the Installers chapter).
Checking the connection
After setup the Cockpit tile shows the connection state. In the panel view the status is also shown in the header:
- "Direct" – the panel is reached via its address.
- "P2P OK" – the P2P remote connection is up.
- "P2P connecting" – the connection is being established; after setup or a panel restart this can take a minute.
If something doesn't work, see Troubleshooting.
Editing or removing a panel
In the Cockpit via the tile's menu → Edit you change name, address and credentials; the panel can also be removed there. Removing deletes all associated access grants, keys and links – nothing changes on the panel itself.